Friday, September 30, 2011

OCL Challenge #85

This is my second post today, so be sure to scroll down to see the first card I posted this morning.

For this week's challenge on OurCraftLounge I made a fall notepad. This notepad is created by cutting a jr. legal pad in half and then creating a cardstock cover and then decorating the front.
I used OCL's new Fall Sunflower single and colored with Tombow markers. We would love to have you come and play along with us.

FSS Gratitude

Another card made with the precolored hydrangeas by FredSheSaid. The 'gratitude' sentiment and purple polka dot paper is from Designed2Delight's Autumn Mums' set and Fall Fun digi paper set.

Thursday, September 29, 2011

ABC Challenge at Tombow

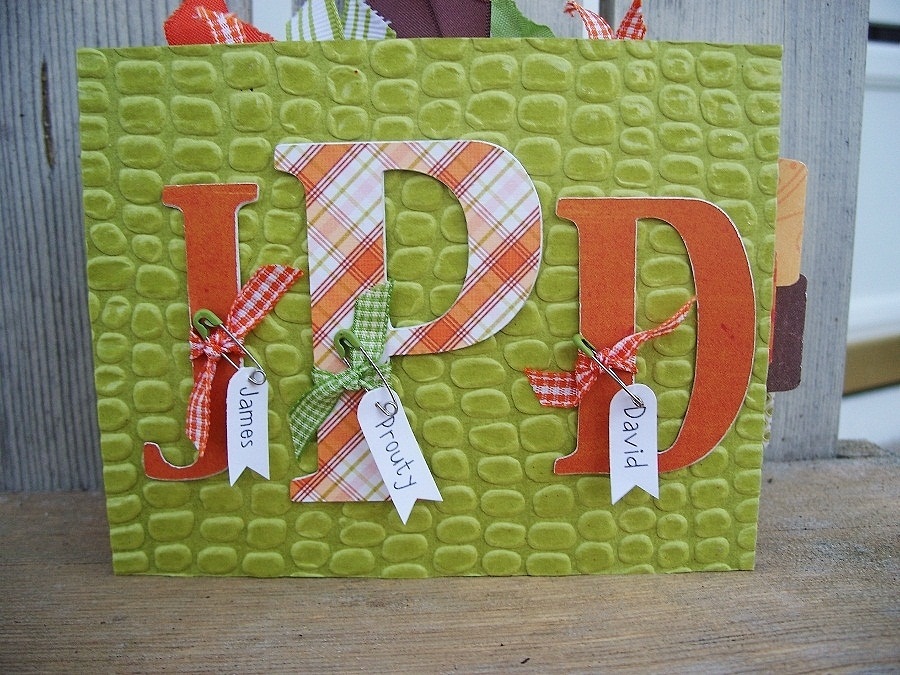
Today I have a fun Baby Boy Paper Bag album that I created for my cousin’s precious baby James David Prouty. My cousin has decorated his baby room in green, burnt orange and chocolate. It was so much fun to make an album in these colors. I just went thru all my stash of papers, stickers and embellishments and picked out everything that matched and then started cutting papers to fit my paper bag album.

I used Tombow’s Mono Adhesive Power Bond to put the album together. I like the extra strength of this adhesive and use it on my albums. For the ribbons, I used Mono Adhesive Dots, Roller. There are lots of pages and photos. I hope you enjoy viewing them all.

I typed his name on cardstock, then punched with an oval word punch, then ribbon cut the ends.

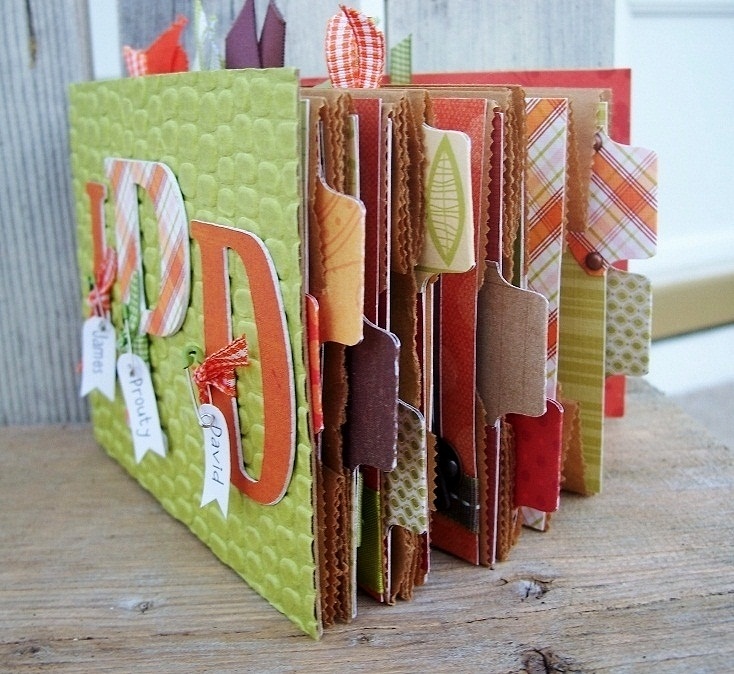
Here is an angle view of the whole album:

And here are the inside pages: right inside the front cover:

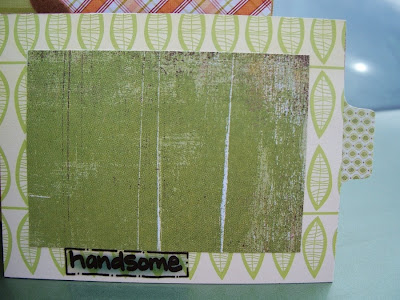
tab pulls out and more info can be put on the back:

opposite inside cover:

pull out side one:

other side of pullout:

there are two pockets as two bags are adhered together so here are the sides to the next pullout:


next page:

opposite of the above:

next pull out side 1

side 2
 

2nd pull out side 1
 

side 2

next page I created a pocket for the ribboned piece and stapled a bunch of folded ribbons

close up of vellum sticker

ribbon pullout:

other side:

opposite page side (note: the little flaps you see are made with the bottom of the paper bag, 2 adhered together)

next set of pull outs 

Next pages

Pull outs:

Last 2 pages:

WHEW! I told you it was a long post. LOL!! I hope you enjoyed this paper bag album and drew some inspiration from it to maybe even make one of your own or as a gift. Ü
Thank you for stopping by,

Wednesday, September 28, 2011

Fall HoneyPOP Blog Hop

Welcome to the Inky Antics Blog Hop! If you hopped over here from Jovi's blog you are in the right spot. If not, be sure to start HERE at the beginning. You will also find a list there of each of the players in case you get lost along the way, or someone doesn't have their post up yet.
Each of the DT members are creating two projects for you for this hop. One is a card using the Honeycomb paper and the other a different kind of project using the Honeycomb.
I used 11054MC Penguin's Pal HoneyPOP Clear Set and white Honeycomb paper to create this card.

Here is a peek at the inside:

and this second project showing how you can use honeycomb pads to make something completely different. This is my favorite project! I got this idea quickly of what to do. I haven't seen anything like this anywhere on line, so it is fun to think I might have an original idea! LOL!!

I used the Spider Treat Box from Cutting Cafe to make this box, then glued some black fun flock to the legs and cut a 2.5" circle of black honeycomb paper to make a spider on one side of the box.

I added googlie eyes and the spider eek! tag from Inky's 10919MC Halloween Hijinx Clear Set. Tag was cut with Nestibilities tag dies.

The blog hop starts today and ends on Sunday, October 2nd at midnight Central time. Please visit each DT members’ blog to view their projects and leave a comment for each designer. The more you comment, the better your chances are to win. (Limit one comment per blog, please). One person’s name will be drawn at random to receive a fun Inky prize pack. The winner’s name will be announced on the Inky Antics  blog next Monday, so remember to stop back and see if you’ve won.
Thank you for hopping with us. Now it's time to head back to the Inky Antics blog to comment that you've made the hopping rounds.

Tuesday, September 27, 2011

BI Farewell

This is my last post as a Biblical Impressions/QKR Stampede DT member. Thank you Maribeth for the opportunity to design with your images.

My card today uses Sunflower Garden. I used a card base that I had made quite awhile back when I was going thru my scraps and creating several card bases. These are fun to pull out when I can to see if my colored images work with any of them.

I used my favorite Sparkly Fluff from OurCraftLounge Coffee Bean Brown to the centers of the flowers.

Monday, September 26, 2011

FSS Fall Cards

Good Morning! I have a fall card to share with you using FredSheSaid precolored digital images.

I used a page out of an old Anne of Green Gables book. About killed me to tear a page out, but I have an even older edition, so it was silly for me to have two. PLUS I bought the book with the purpose to use it in my papercrafting.

This card uses a precolored image from the Hydrangea Bouquet set. I know Hydrangeas are more summer flowers, but I used fall papers and thought it went well together. Ü
I used more of the Anne of Green Gables page and some scraps I had. I really love how this one came together.

Sunday, September 25, 2011

One Fall Day

The Cutting Cafe DT will be sharing projects using Welcome Fall digital stamp set. This set is huge with 46 images!! Be sure to stop by the CC blog Wed to see all the other projects or you can click on the DT members blogs in the column on the right.

For my card, I used the One Fall Day journal strip and the apples and basket. I am bummed that we didn't have an apple crop this year due to bad weather. But usually this is the time of year we are starting to cider apples.

I used My Mind's Eye papers and colored the images with markers.

Saturday, September 24, 2011

Happy FALLoween!

Designed2Delight has a challenge this week to use die cuts and/or punches. I chose this fun image called "FALLoween Cat". I used a Nestibility die for the sentiment and scallop punch for the scallops.

Friday, September 23, 2011

OCL Challenge #84

This week's challenge on OurCraftLounge's blog is one of my favorites....use patterned paper. I have sooooo much of it and the paper I used on this fun card is some discontinued Halloween paper from SU! I've had this for quite awhile and decided I needed to get it used up.

I used OCL's Monster Hugs stamp set. I just love the adorable monsters in this set. I stamped the image on watercolor paper and colored with Tombow's Dual Brush Pens.

We would love to have you come over to the OCL blog and play along with us this week. There is a fun prize to win each week and you can't win if you don't play. Ü

FSS Fabulous Fall Blog Hop

Welcome to the FredSheSaid Blog Hop! Today's hop is a color challenge one using red, orange and green. If you just came from Danielle's  awesome blog  you are in the right place. If not, you need to start at the FSS Blog as there are words to collect along the way.

HOP INSTRUCTIONS:
To WIN, each hop participant will have a special word/s, collect them up to form the secret phrase! At the last stop of the HOP, there will be instructions on how to make your entry. Blog Hop entry date ends Friday September 30th midnight EDT. Entries close on Friday September 30th at midnight EDT and winners will be announced Saturday October 1st.
I chose to use FSS's precolored Pumpkins and Sunflowers image. I used some fun Coffee Bean Brown Sparkly Stuff from OurCraftLounge for the center of the sunflowers. It just adds to the warmness of the fall image.
My special word for you to collect is OF. Now it is time to hop over to see Nancy's lovely creation.


Instructions on how to enter are also on the FSS Challenge Blog.
THE PRIZE:
$10 Prize Package of yummy goodies chosen by Judy from Pizzazz APlenty
$30 Gift Certificate to the Fred She Said Store
£15 Gift Voucher to Bearly Mine Designs

Thursday, September 22, 2011

Tombow + Purple Onion Designs

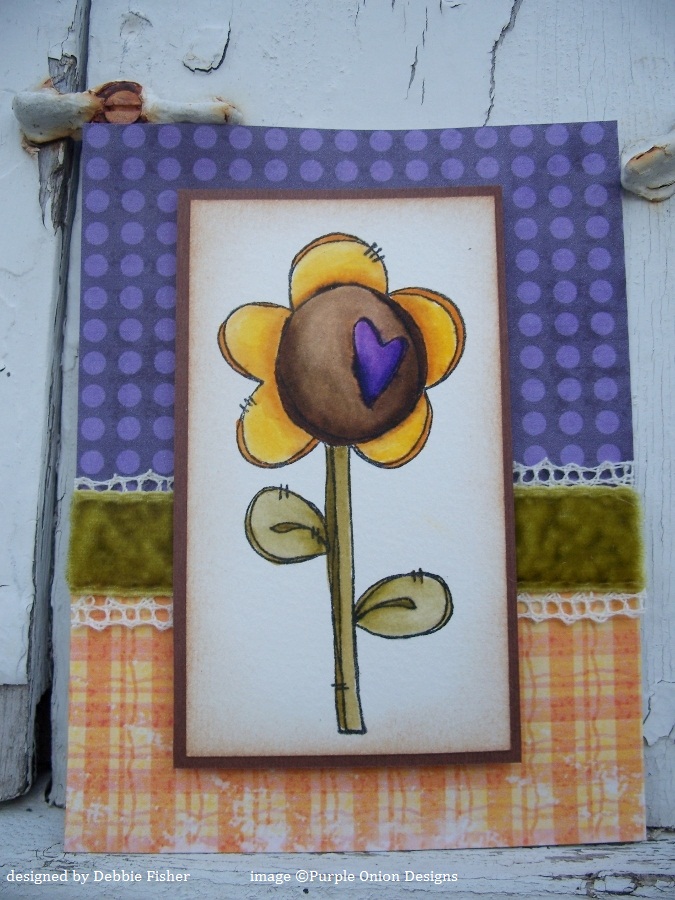
This month’s team up is with Purple Onion Designs. I love the fun and sketchy images I received. Today I am going to show you one of those images (Heart Flower) with different looks. Hopefully this will show you how you can take one stamp and different looks to make it seem as though it’s a completely different stamp.

I used Tombow’s Dual Brush Pens to watercolor the flower on this card. The image is popped up with Foam Tabs and I used Mono Adhesive Permanent to glue the pieces together.

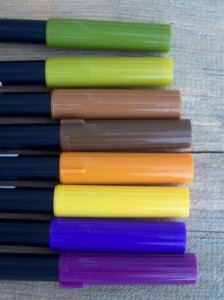
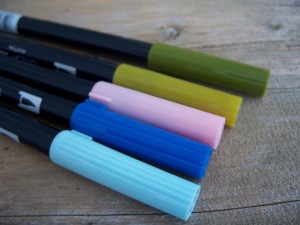
Here is a look at the markers I used


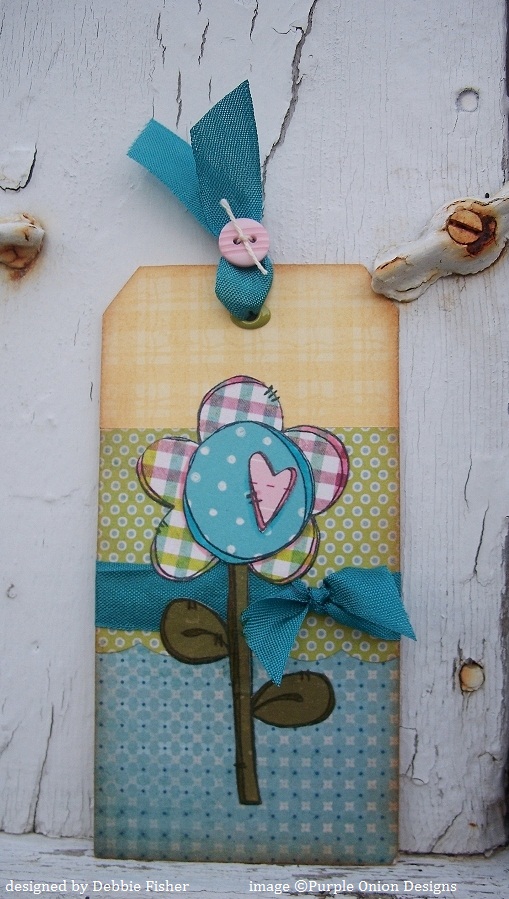
My next project is a paper pieced tag. I covered a manilla tag with patterned paper, then stamped the image in the center. Then I stamped the flower image onto different patterned papers, cut out and layered onto my stamped image that I had stamped on the tag.

I used Mono Adhesive Dots Roller for adhering this tag together and these markers.

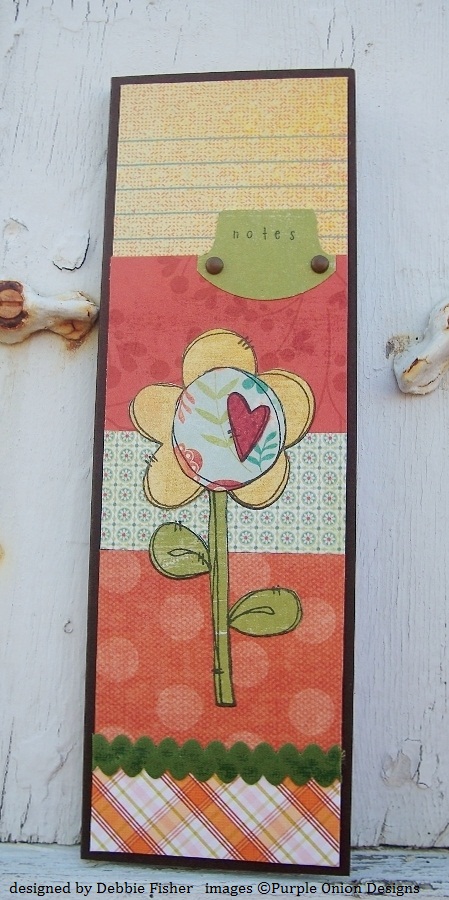
Here I created another paper pieced project, this time a mini notepad.

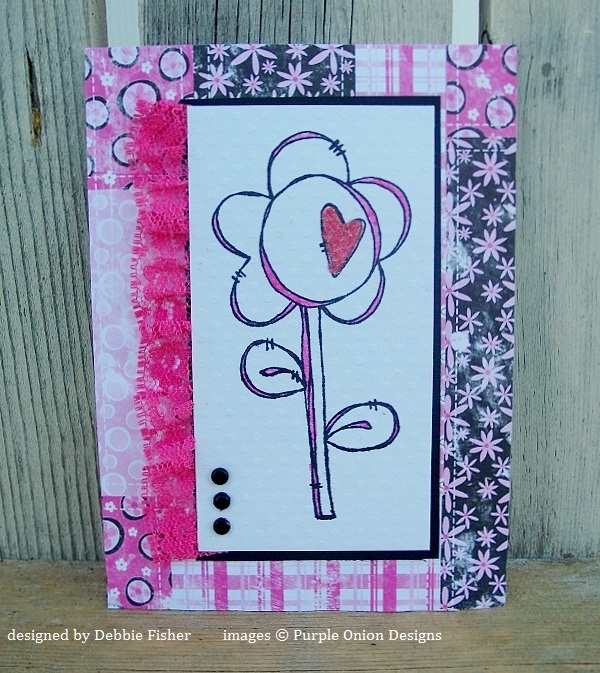
My last card is a clean and simple just stamping in black and then using a pink Dual Brush Pen to add a little color to the flower.